Winter Water for Chickens: Which Anti-Freeze Method Really Works?
A backyard hen can get through most winters without a heater. She cannot get through a single day without water.
Most university extension services agree that adult chickens in a dry, draft-free, well-ventilated coop handle cold well. Ohio State University Extension puts it plainly: supplemental heat “may or may not be needed” for birds that have adjusted to the season. Liquid water is not optional, and it is the first thing to fail when the temperature drops.
The demand for water also climbs in winter. Chickens drink roughly two pounds of water for every pound of feed (University of Wisconsin-Madison Extension), and the University of New Hampshire Extension notes that flocks may eat up to 25 percent more feed in cold weather (2024). More feed means more water, at the exact time of year a waterer turns into a block of ice.
That makes the waterer, not the coop heater, the first piece of winter gear most keepers should plan for. If you want to compare heated fountains, heated bases and insulated waterers by wattage, rated low temperature and power needs before buying, Chicken Coop Heater, an independent buying-guide site that sets manufacturer specifications next to university extension advice on coop heating and winter water, lays those details out product by product. The rest of this guide covers how to pick a method for your own setup and what each one costs to run.
Which Method Fits Your Coop?
The right way to keep chicken water from freezing depends on three things: whether you have a safe outlet at the coop, how cold your nights get, and how often you can check the water. A keeper who works away from home all day needs a different setup than one who can swap waterers at lunch.
| Your situation | Best fit | Why it works | Daily effort |
| Fixed, GFCI-protected outlet; nights regularly below 20°F | Heated fountain or heated base with a built-in thermostat | Keeps water liquid around the clock and switches off when it is not needed | Refill, check the cord |
| Outlet available; only occasional freezing nights | Heated base under your current fount, on a plug-in thermostat outlet | Runs only on the cold nights, so it costs little | Refill, check the cord |
| No power; someone home during the day | Two waterers, swapped morning and midday | The frozen one thaws indoors while the other is in use | Two or three trips |
| No power; away all day | Insulated waterer plus a wide black rubber tub in the sun | Slows freezing long enough to cover a workday in moderate cold | Refill morning and evening, knock out ice |
| Ducks in the flock | Wide heated bowl they can dunk their heads in | Ducks clear their nostrils and eyes in water and quickly foul nipple drinkers | Refill and clean daily |
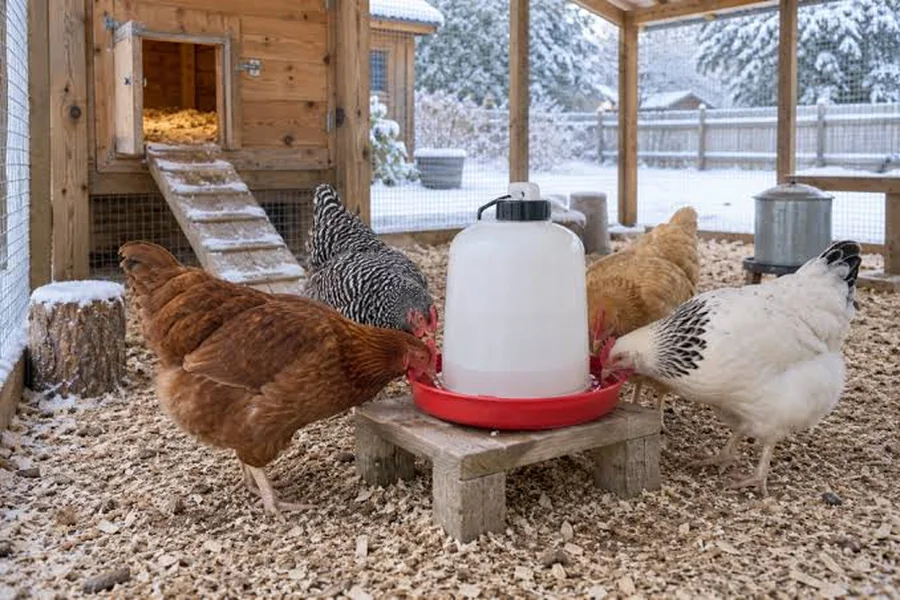
Location matters as much as equipment. A waterer set in a sunny, wind-sheltered spot and raised off frozen ground on a paver or brick will stay liquid longer than the same waterer sitting in snow on the shady side of the run.
What a Heated Waterer Costs to Run in 2026
A 100-watt heated waterer costs about 43 cents a day if it runs nonstop, or roughly $13 over a 30-day month, at the 2026 U.S. average residential electricity rate of about 18 cents per kilowatt-hour (U.S. Energy Information Administration, Short-Term Energy Outlook). A thermostat cuts that figure because the heater only works when the water is near freezing.
The math is simple enough to run for any device: watts multiplied by hours of use, divided by 1,000, gives kilowatt-hours. Multiply that by the rate on your own electric bill.
| Setup | Watts | Hours on per day | kWh per day | Cost per day | Cost per 30 days |
| Heated fountain, worst case (runs nonstop) | 100 | 24 | 2.4 | $0.43 | $12.96 |
| Heated fountain, thermostat on half the day | 100 | 12 | 1.2 | $0.22 | $6.48 |
| 250-watt heat lamp aimed at the waterer, nonstop | 250 | 24 | 6.0 | $1.08 | $32.40 |
| Insulated waterer or rubber tub | 0 | 0 | 0 | $0.00 | $0.00 |
The heat lamp row is there for comparison, not as a recommendation. A heat lamp costs about two and a half times as much as a nonstop heated fountain and still heats the air around the water more than the water itself.
Rates vary widely by state, so the same fountain can cost noticeably more in a high-rate region. Check the per-kilowatt-hour figure on a recent bill before budgeting.
Power-Free Methods That Actually Work
Without electricity, the goal shifts from preventing ice to slowing it down and making it easy to remove. No power-free method stops water from freezing through days of hard frost, but several buy enough hours to keep a flock drinking.
- Black rubber tub in the sun. Dark rubber absorbs sunlight, flexes without cracking, and lets you pop the ice out with a stomp.
- Two waterers on rotation. One stays indoors to thaw while the other is in the run. Swap them morning and midday.
- Insulated waterer. Double walls slow freezing for hours, but they delay ice rather than prevent it. Refill with lukewarm water each morning.
- Shelter and height. Move the waterer out of the wind and off the frozen ground.
- Floating balls or a sealed bottle of salt water. Cheap and popular, but the effect is small and has not been measured well. Treat them as extras, not a plan.
Whatever the method, Ohio State University Extension advises changing unheated water twice a day in winter, and more often on the coldest days.
Why a Heat Lamp Is the Wrong Tool for Water
A heat lamp warms the air and the birds nearby, not the water, and it adds a serious fire risk to a building full of dry bedding. The Maine Fire Marshal’s Office lists heat lamps, extension cords, bedding and water heaters among the top causes of coop fires (Bangor Daily News, 2023).
Splashing water is another problem. Cold water hitting a hot bulb can shatter it, dropping hot glass into straw or shavings.
The National Fire Protection Association’s backyard coop safety tip sheet (2018) asks keepers to secure heat lamps, keep them away from anything that can burn, avoid extension cords inside the coop, and choose equipment made for agricultural use. The same safety habits apply to heated waterers. Before plugging one in this season, run through this checklist:
- Plug into a fixed, GFCI-protected outlet, not an extension cord.
- Set the unit on a level, non-flammable surface such as a paver, clear of loose bedding.
- Route the cord where birds cannot peck at it, and look it over daily.
- Wipe dust and cobwebs off the plug, the outlet and the unit.
- Test it before the first hard freeze. Many heated waterers only switch on below about 35°F, so fill it on a cold morning and feel for warmth.
Final Thoughts
For most flocks, winter care starts with water rather than heat. A dry, ventilated coop handles the cold, while the waterer is the part of the setup that fails first and matters most.
Pick a method from your situation: a thermostat-controlled heated waterer if you have a safe outlet and hard winters, a swap or insulated setup if you do not. Run the cost math with your own electric rate, set everything up before the first freeze, and check the water at least twice a day once the temperature drops.